Trackwork Roadbed
Why I Use Homasote for the Roadbed
There are many materials that can be used as the roadbed, including the option of using nothing, and each has its pros and cons. Read all the comments on the various forums so you can make your own choice. For me, I used Homasote because it
- will not dry out like cork
- holds spikes very well
- takes paint very well and
- can be cut into any shape or thickness I want.
- can be sanded to yield a very smooth surface, which is tricky to do with a granular material like cork or a soft material like foam.
Decades ago, I used a product called “Homabed” which was 1/4″ thick Homasote strips, each one cut with a bevel on one long side. Kerfs cut into one of the long sides allowed the strip to curve easily without breaking. You glued the strips to your subroadbed much like you would cork roadbed. Alas, “Homabed” is no longer being produced.
However…..
Central & Western HomaRoad Supply now produces its “HomaRoad” line of products that mimics the old “Homabed” product and has taken the idea many steps further. The products look fantastic, although I’ve not used them.
Unfortunately, when I began construction, “HomaRoad” was not yet on the market so I figured out a way to make it myself. I would seriously consider just buying the “HomaRoad” stuff instead of making it today. Nonetheless, here’s the YouTube video that I made which describes that process.
Laying a Homabed (or HomaRoad) Roadbed
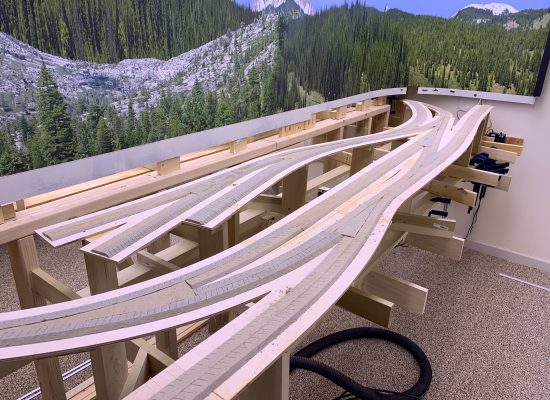
Since there are many videos on laying cork roadbed, I’ll cheat and say that laying Homabed is done virtually the same way. However, a quick summary of the steps are outlined below.
One of the long edges of a Homabed strip has a vertical edge while the other is beveled, similar to cork strips. Lay the strip with its vertical edge along the track centerline and glue it down.
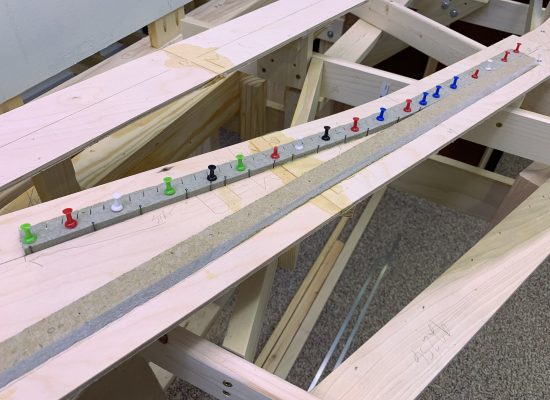
I first nail track nails into the embossed centerline on the subroadbed. Then, I can just jam the Homabed strip right up to it and it will be perfectly in place. I use colored thumb tacks to hold the strip in place while it’s drying. Glue another strip next to that with its vertical edge touching the first strip.
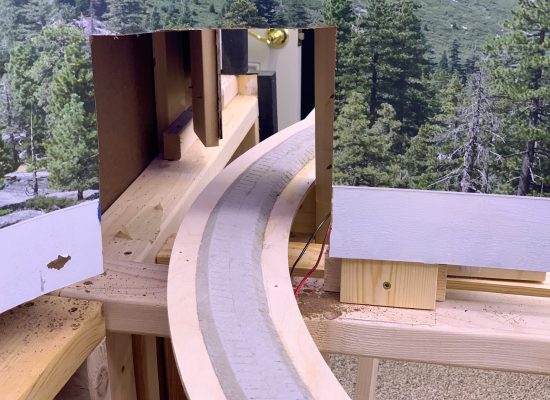
The Homabed has thin cuts on one side which makes it possible to curve the strip fairly tightly.
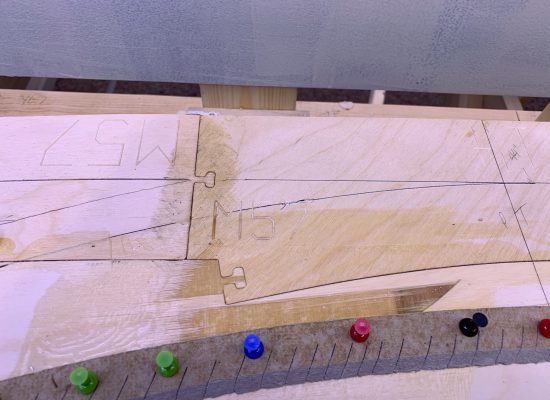
Where you have turnouts, follow the diverging routes with your 2 strips, producing a triangle-shaped open void initially. This void is filled in with extra 1/4″ thick Homasote material cut to fit.
After removing the tacks and nails, I fill in any low spots with drywall mud and sand it down. I also sand down any high spots.
Some Special Notes on Using HomaRoad
While I’ve not used the product, the website provides enough information that I can make these observations about using HomaRoad:
- They offer 2 thicknesses of HomaRoad products (scale 12″ and 18″ thick) and the bevel angle can be 30 or 45 degrees.
- They offer special pre-cut pieces to accommodate turnout placement.
- They offer transition strips to allow you to have 2 different thicknesses and bevels on the layout but seamlessly change from one to the other.
- They offer flat panels of Homasote, milled to 3.5mm or 5mm, to allow for custom fitting of smaller pieces.
- They offer a diverse set of products for HO, O, S, Sn3, and On3, with the variety differing depending on scale.


