Backdrop Materials
Framing
- 2 x 4’s – high grade white pine
- 1 x 4’s – poplar
Onto the already finished walls, I screwed 1 x 4’s (laid with the wide ends facing out) to the 2×4’s behind the existing drywall. These served as the solid frame for the backer boards (see below).
The track plan specified a wall to divide the room. I built a half-wall out of 2 x 4’s and added a header sill to fasten the half-wall to the ceiling. The top half of the half-wall was framed with 1×4’s, each with the wide side facing out, again to serve as the solid frame for the backer boards.
Backer Board
- Masonite sheets: 4′ x 8′ x 1/8″
- Plastic sheeting material normally used for shower walls: 4′ x 8′ x 1/16″
- Drywall mud
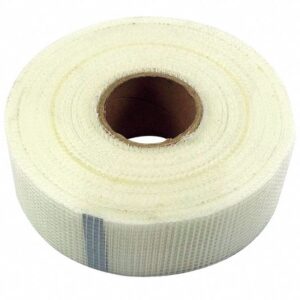
- Mesh drywall tape
- 220 grit sandpaper
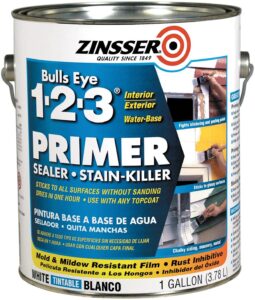
- Zinsser’s Bull’s Eye 1-2-3 water-based primer.
Whenever possible, I used the masonite. It can take quite a bit of bending, which gave me nice curves around corners.
In those places where the tight curve would not allow the use of masonite, I used the plastic sheeting material.
You must use acrylic-based primer, not latex-based, for the backdrops I ordered.
Commercial Backdrops
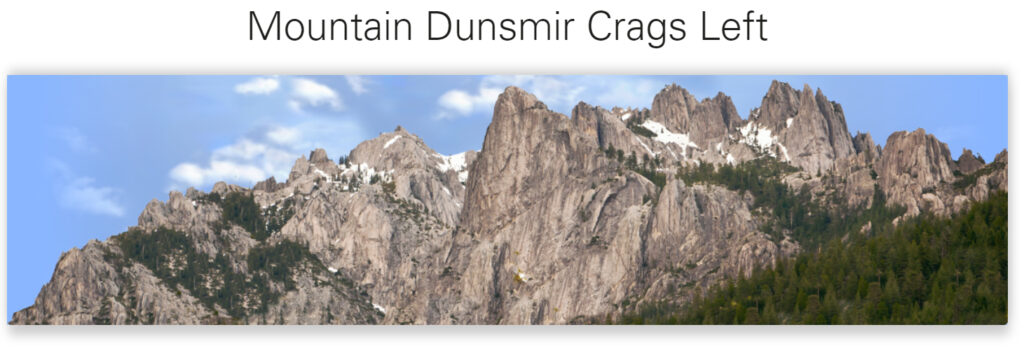
- Custom-printed backdrops from railroadbackdrops.com: I ordered 5 backdrops each 42″ high x 96″ long and 1 measuring 42″ high x 48″ long. They “stretched” the 36″ high versions to 42″ and all was good.
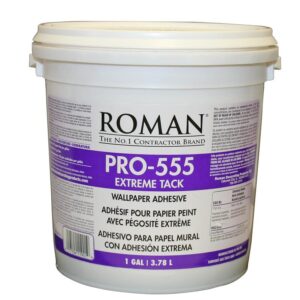
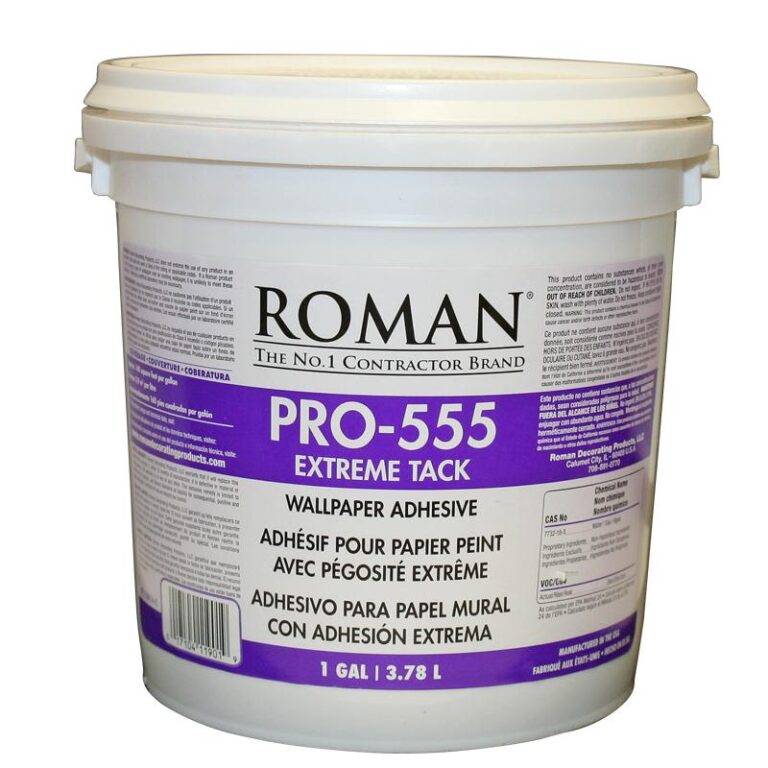
Four were blended to form a 28′ long backdrop and the other 2 were blended to form another 16′ long backdrop. I had the backdrops printed on “Premium Polypropylene” stock. - Roman’s Pro-555 Extreme Tack wallpaper adhesive
Because I wanted a backdrop against every visible backplane, I sought out a vendor that offered high quality murals with a variety of designs AND who could “stitch” them together into very long scenes.
The folks at railroadbackdrops.com truly delivered. They worked with me to get everything produced exactly as I hoped.
The adhesive we used was quite strong but gave us enough time to do fine adjustments or cutting.
