Backdrop Framing
The first major construction effort was installing the backdrop. The printed backdrops I was going to use need to be mounted on a sturdy backer board, preferably 1/8″ Masonite.
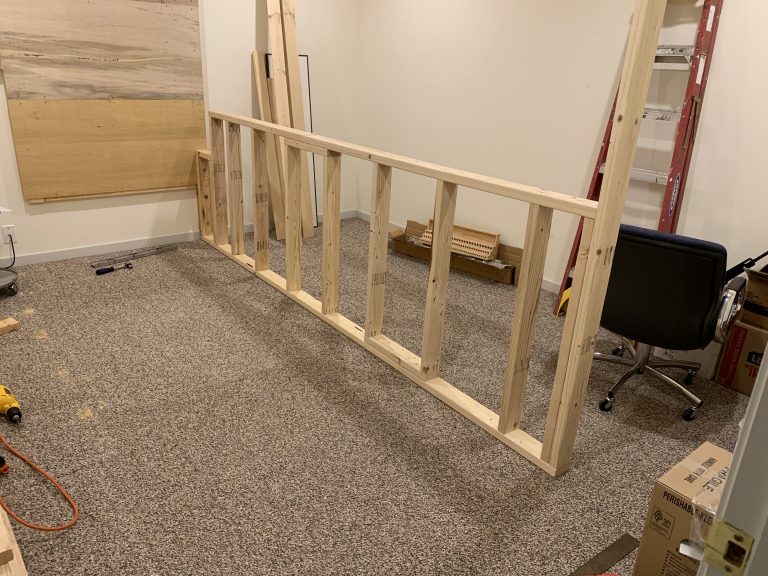
While I had 2 walls on which I could mount some of the backdrops, there was a peninsula in the track plan that was to have backdrops as well. Thus, I built a half-wall using 2×4’s for the bottom half and a top header. I used 1×4’s screwed to the top of the half-wall to form the framework to which the Masonite would be screwed.
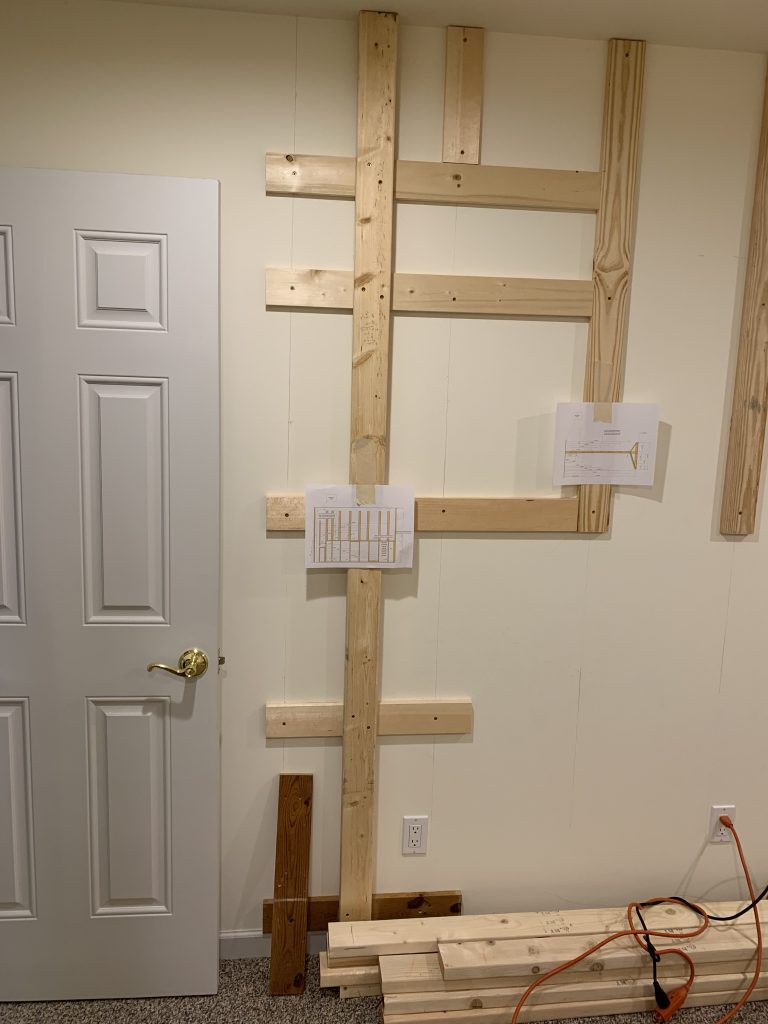
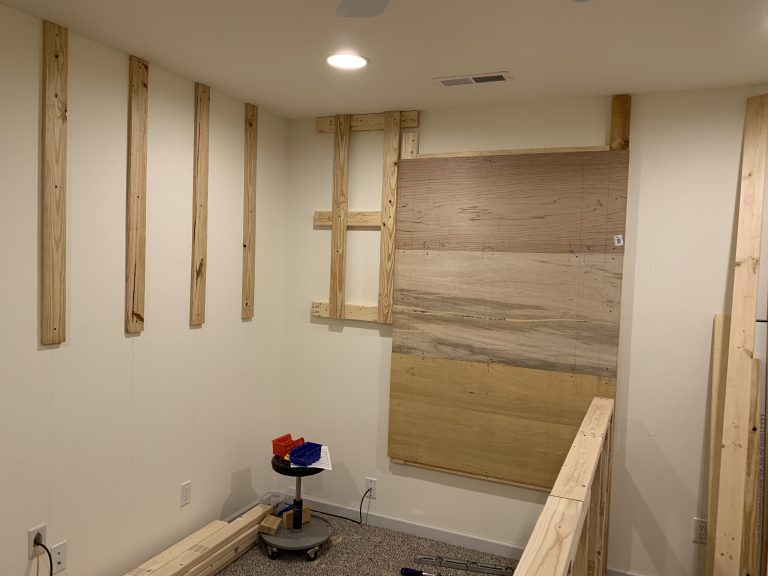
To provide something to screw the Masonite into on the existing room walls, I screwed 1×4’s to the 2×4’s that were behind the drywall on those walls, placing the 1×4’s so they extend out only 3/4″. This allows me to see exactly where the 1×4’s are and makes it possible to clamp things to the Masonite backer board during later construction phases.
Images of the Actual Backer Board Construction
The final construction details vary a bit from the sketched out plans because of the way the room’s wall studs fell and also to allow me to leave the existing wall baseboards intact and untouched. However, the basic plan was followed with the flat sides of 1×4’s acting as the mounting surfaces for the backdrop backer board.


