Lighting Panels
Each area bounded by ceiling grids needed a lighting panel custom cut to sit on the horizontal ledges of the grids. Most panels have a different texture on each side and thus you need to decide at the outset which side of your panels will be considered the “top”.
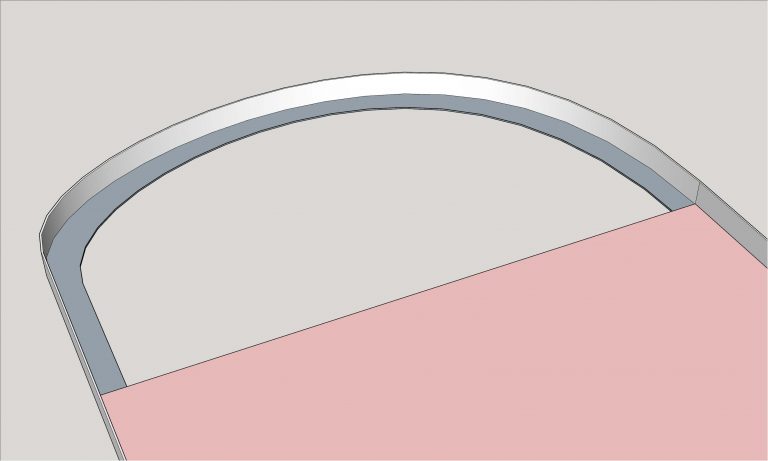
These are the steps I followed to install a lighting panel in the area enclosed by the ceiling grids shown in the image below. Click on a step’s title to jump to the details for that step.
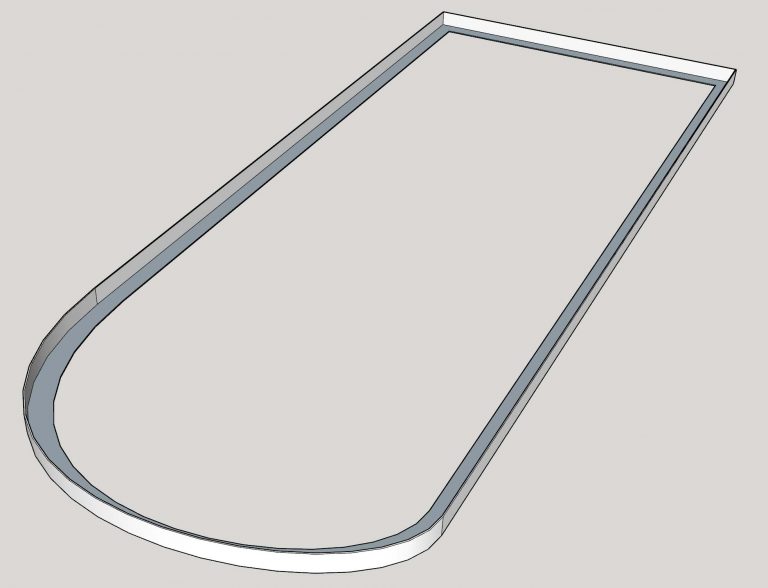
Step 1: Gather the Materials
- Lighting panels
- Fine tip black marker
- Thick sharpie
- Poster board
- Router or roto-zip tool
- Masking tape
- Scissors
- Fine tip mechanical pencil
- 2 Wooden slats: 1/8″ x 24″
Step 2: Create Cutting Guides
These are very small blocks of wood cut to close tolerance. They are used to mark on your poster board the final cut lines for the template.
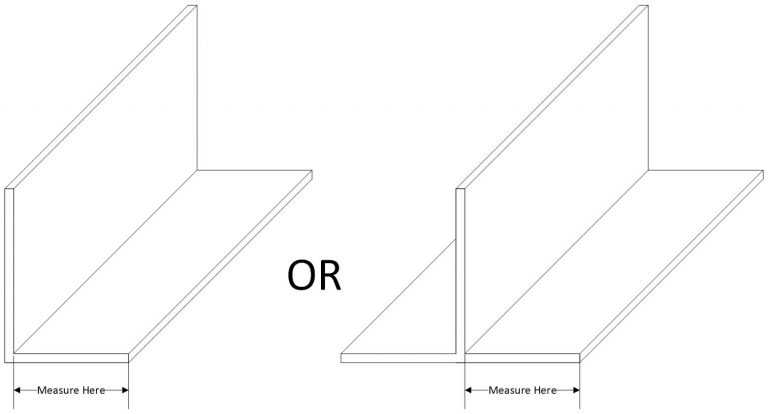
The width of the horizontal lip on metal wall molding may be different from that of the Trim-tex wall molding which may be different from that on the metal cross grids. You’ll need to make a cutting guide for every different width.
To make each cutting guide, I first measure very closely the width of the horizontal lip from the inside corner to the outside edge.
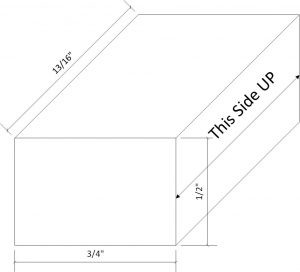
Let’s say that measurement was: 7/8″. Subtract 1/16″ from that to get: 13/16″. I would cut a small block of wood that is: 3/4″ x 1/2″ x (derived measurement). So, I would cut a piece that was 3/4″ x 1/2″ x 13/16″. The most critical measurement on the the block is the 13/16″.
I suggest that you first take a 1 x 4 (which is already 3/4″ thick), and create a strip that is 3/4″ x 1/2″ x 1 ft. Then just cut off 13/16″. Mark on the block which side is 13/16″.
Since you need to create a cutting guide for each part that will serve as the horizontal ledge for the lighting panels, I had to create one for the Trim-tex molding and another for the metal cross grids.
Step 3: Add Poster Board Inserts
- Use whatever means you can to derive a very close approximation of the size and shape of a piece that would cover, edge to edge, a large portion of the area.
- Continue adding smaller pieces, cut into irregular shapes, and overlap them so that eventually you’ve covered the entire area.
- Tape the pieces to each other to keep them aligned.
- When you’re as close as you want to get, tape the bottom-facing side of the poster board to the bottom-facing side of the wall molding or metal grid.
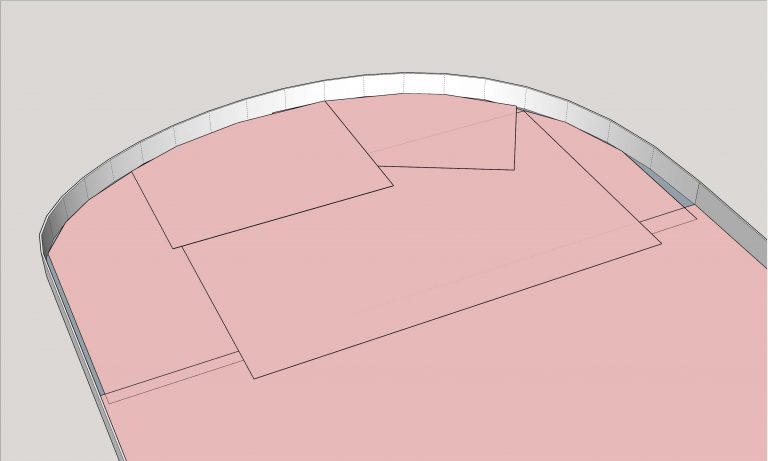
In this first image, you see the first large piece in place. It’s easiest to start with the straight-ish parts first.
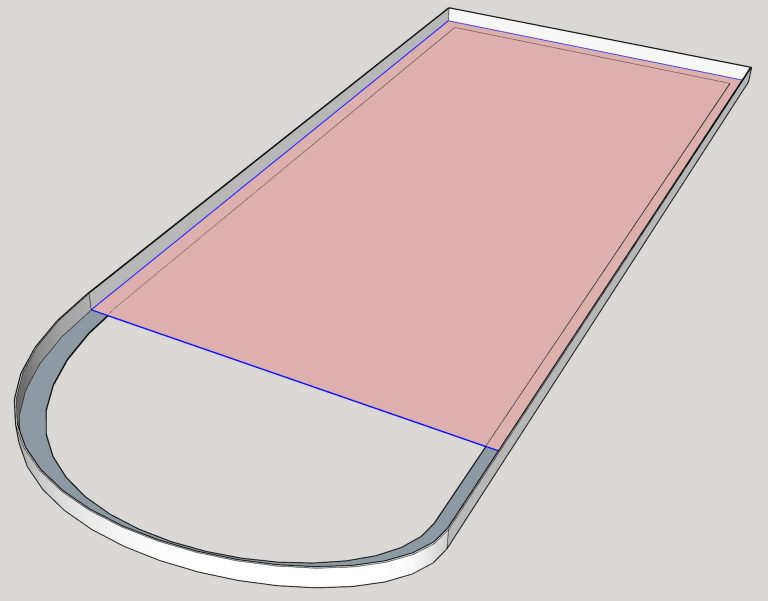
In the image set below, you can see other pieces being added in sequence. While not shown, typically, you would tape the pieces to each other on the top of the developing canvas to ensure the pieces stay aligned.
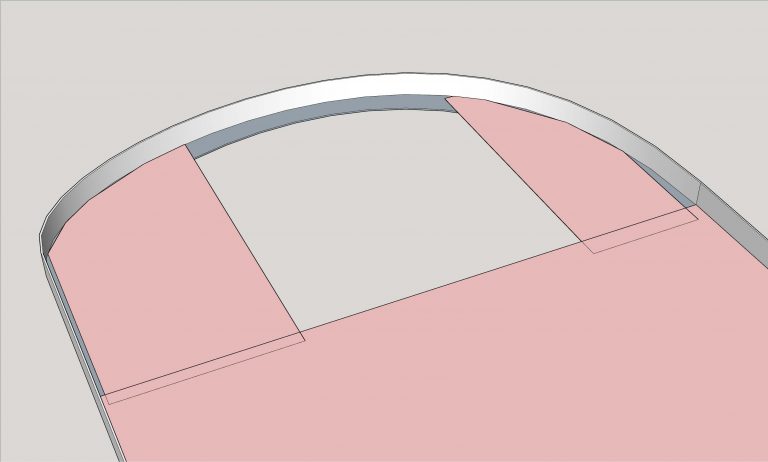
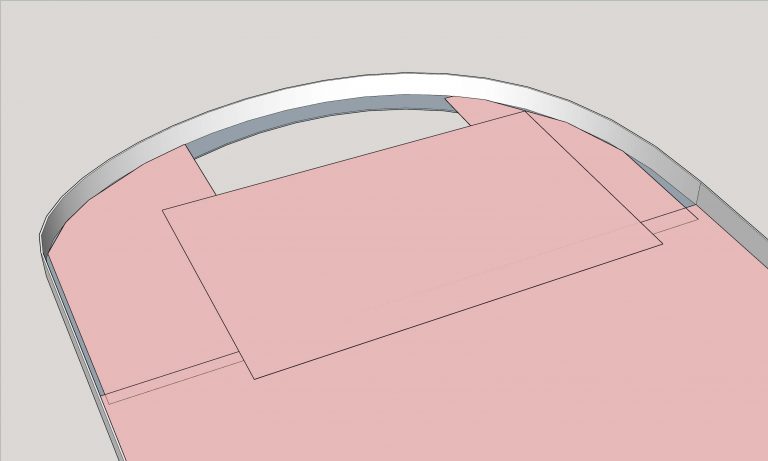
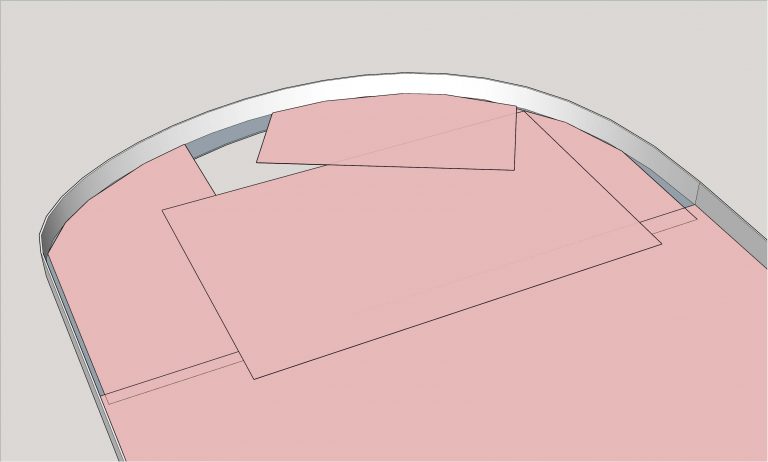
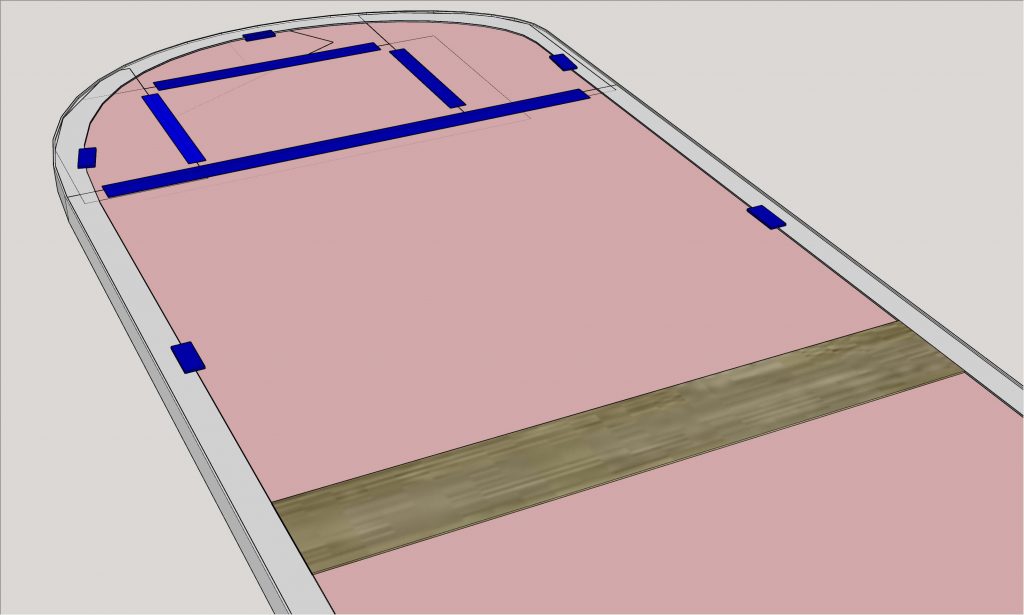
The next image shows what the underside would look like. I taped the pieces together with blue tape and the wooden slat is in place to keep the large piece from sagging. Also, in preparation for marking the edge, the large canvas is taped to the underside of the horizontal ledges.
Step 4: Mark the Edge of the Horizontal Ledges
- From the underside, I used a fine felt tip marker to trace the edge of the horizontal ledges.
- I removed the canvas from the grid frame. The traced edge was clearly visible with only a few missing lengths where the canvas was taped to the underside of the grid/molding. Those were easy to free-hand back in.
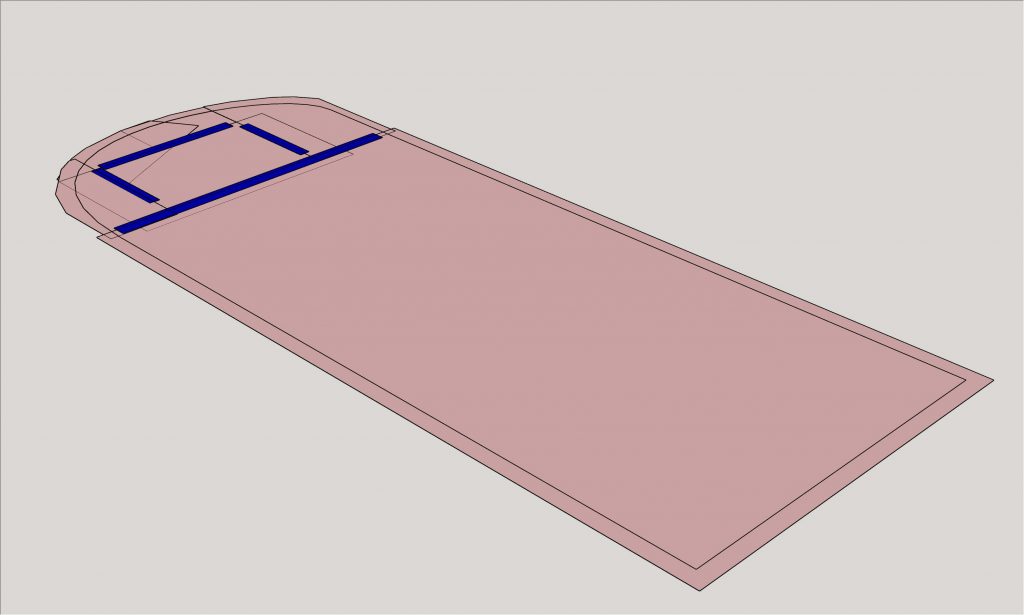
The image below is the canvas once it’s been removed from the grid frame. While the outside edge of the canvas is not smooth, what counts is that the marked line that followed the inside edge of the horizontal ledges is smooth.
Step 5: Trim the Large Canvas
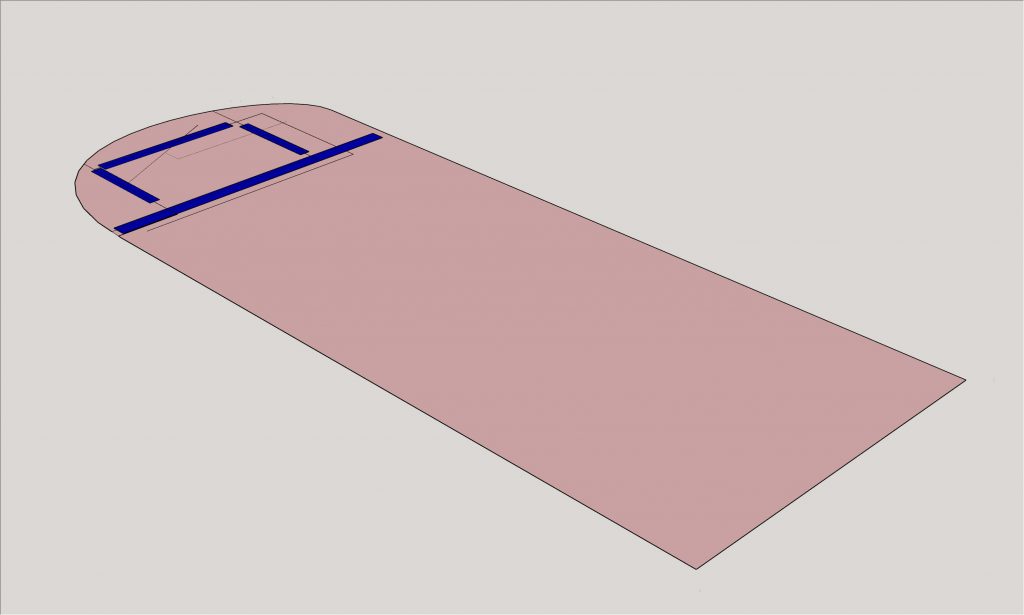
I used scissors to cut along the marked line to end up with a template that exactly matches the entire outline of the horizontal ledges
Step 6: Add Poster Board Around Edge of Template
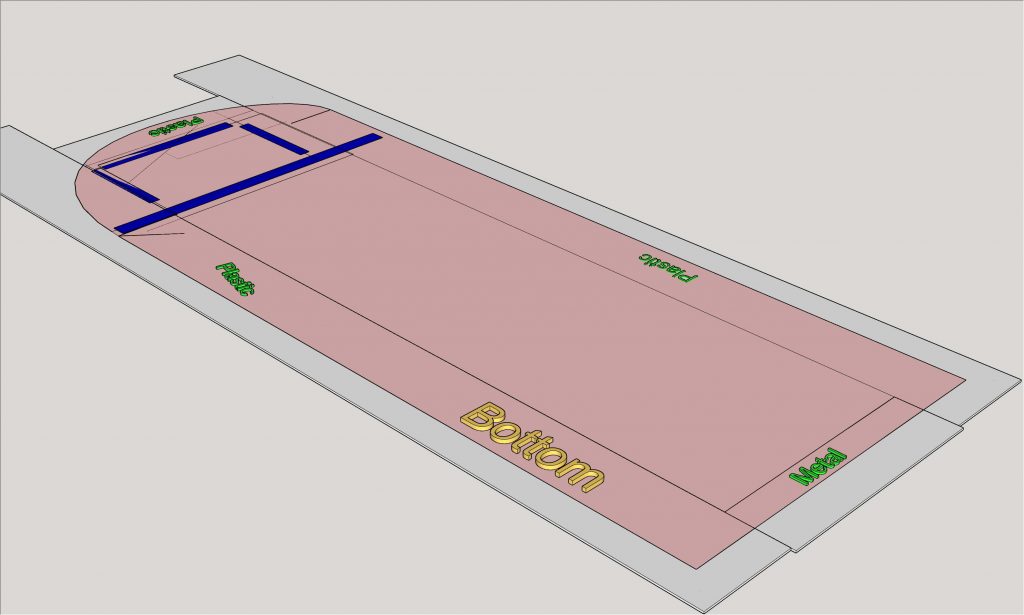
- Mark which side of the large canvas is top and which is bottom. Trust me, you’ll forget.
- On the “bottom” side, write on the template’s edges where each type of grid or molding starts and stops. This will tell you which cutting guide to use on each edge of the template.
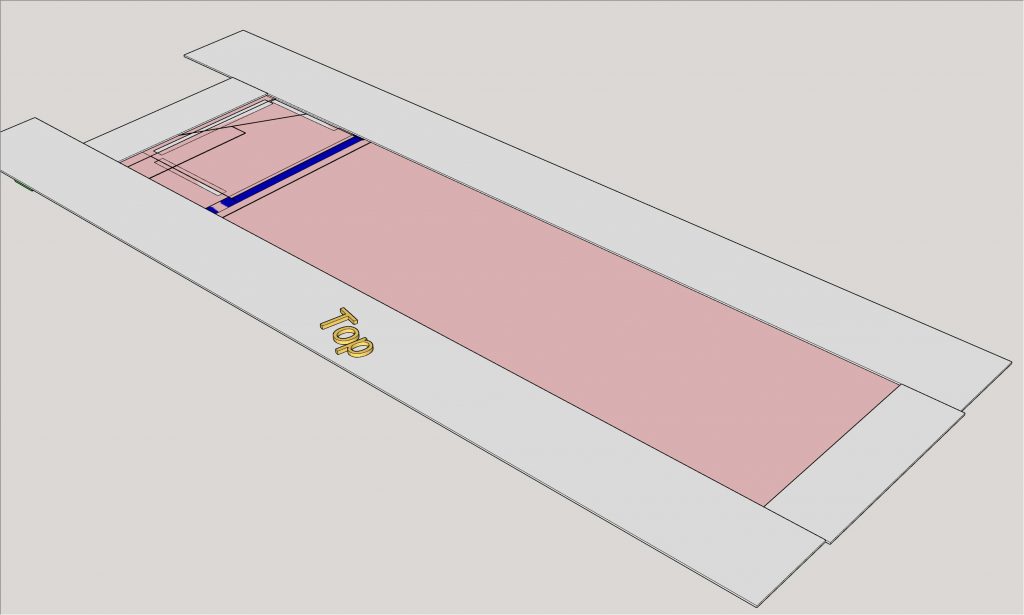
- On the “top” side of your template, place scrap pieces of poster board so that they overhang the outer edge of the template by about 1.5″ at least. Tape them in place.
Your modified template will look something like the images shown here.
Step 7: Mark the Lighting Panel’s Outer Boundary
- Turn the template so that “Bottom” is facing up.
- Start in a corner and choose a direction to start drawing the boundary.
- Your template will tell you what type of grid/molding will be along that edge. Grab the cutting guide that is to be used for that type of edge.
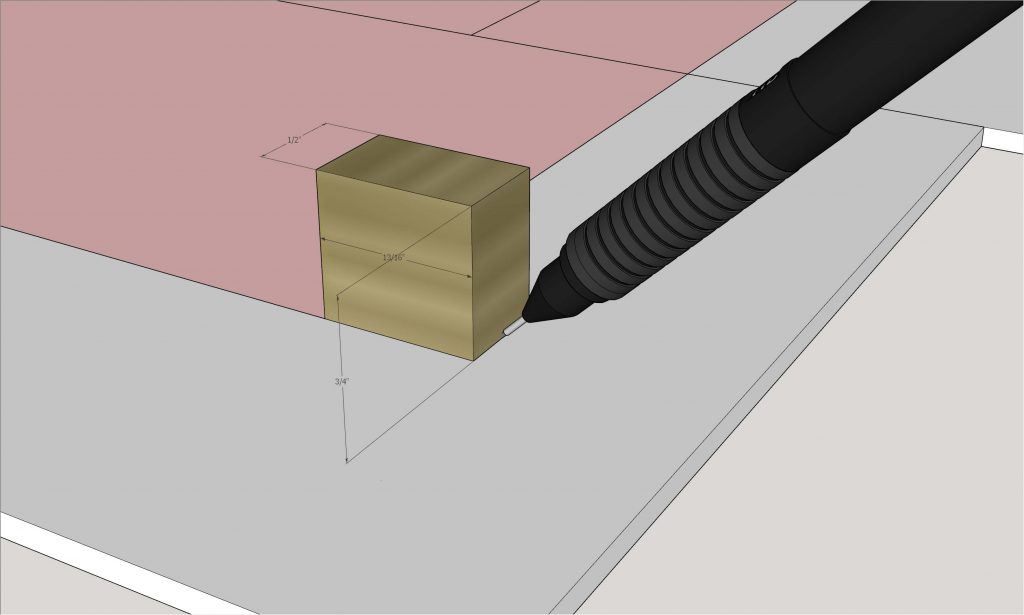
- Orient the cutting guide so that the 13/16″ (in our case) side is perpendicular to the lip on the template.
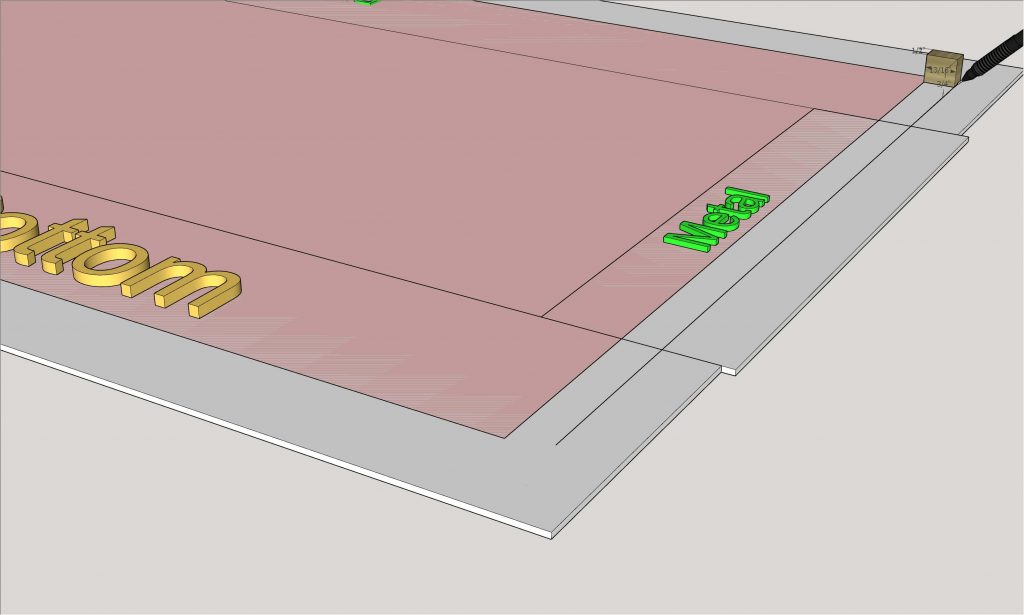
- Put your pencil against the outer edge of the cutting guide, opposite from the lip. Drag the cutting guide along the lip of the template at the same time you drag your pencil.
The short 1/2″ side that is against the lip will allow you go around curves and still get a smooth curve. We are drawing a line that matches the original boundary and is a constant distance from the boundary at all points. The images below show the start and end of marking the outer boundary along a straight edge. Note the orientation of the cutting guide.
Repeat this process, changing the cutting guide when needed, until the entire template has been “expanded” the appropriate distance out on all edges. The image below shows the completed, marked-up canvas.
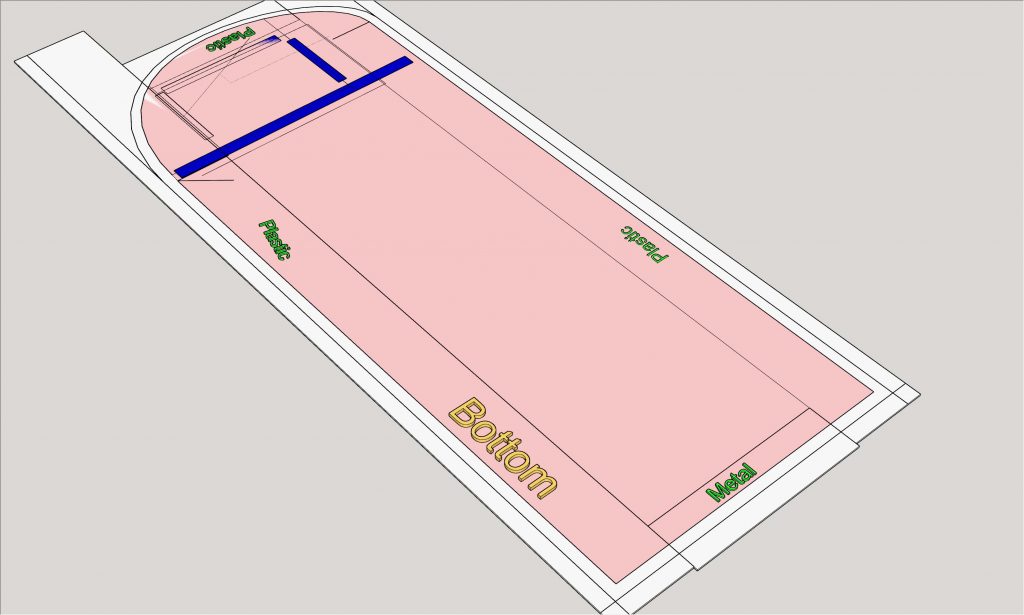
Step 8: Trim to Produce the Final Template
I used scissors to cut off the excess. The image below shows what the final template looks like.
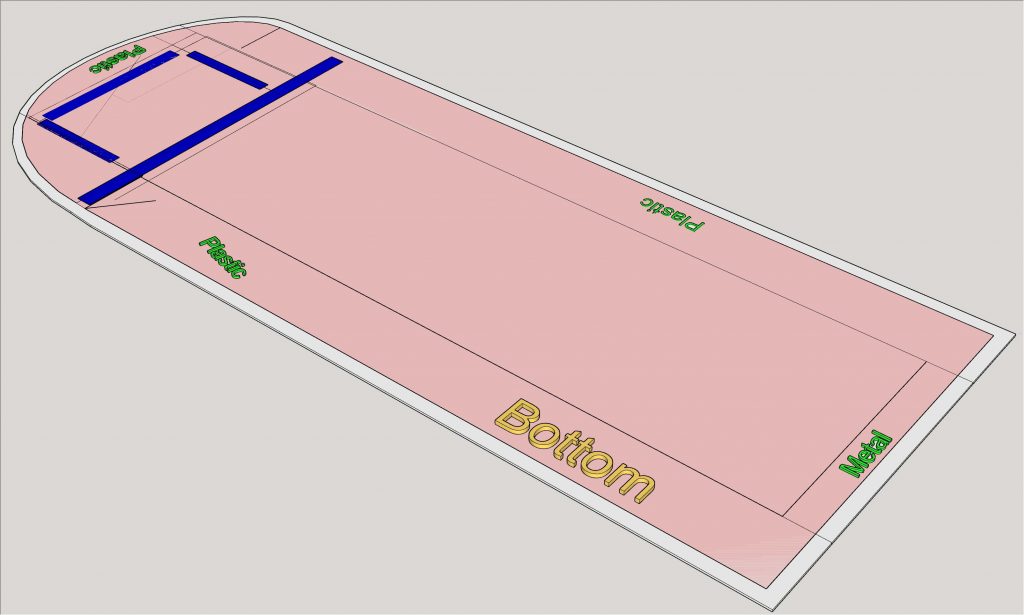
Step 9: Mark Cut Lines on Lighting Panel
- Lay your final template on the lighting panel.
- Take care to place the TOP side of the template against the BOTTOM side of the lighting panel OR place the BOTTOM side of the template against the TOP side of the lighting panel. I wasted a couple of panels by not being diligent in this regard. See the notes earlier on deciding what is the “top” of your lighting panels.
- Tape the template in place.
- Use a thick sharpie to mark the cut lines on the lighting panel.
Step 10: Cut Custom Shape from the Lighting Panel
The best tool to use is a router with a straight bit, ideally on a router table. The plastic cuts easily and does not chip if you feed it at a moderate speed. The next best option is to use a Roto-Zip tool. Start slow to keep from chipping the material but I did use a Roto-Zip on my first few panels. You might be able to get away with using a sabre saw but I’m not sure what type of blade and feed rate you would need to use.
The only thing left is to place your custom cut shape on the horizontal ledges around the area you are covering. You should have at least 1/16″ of play around all edges and that should be enough to work the lighting panel into a flat position on all the ledges with no gaps between the edge of panel and the ledges.
