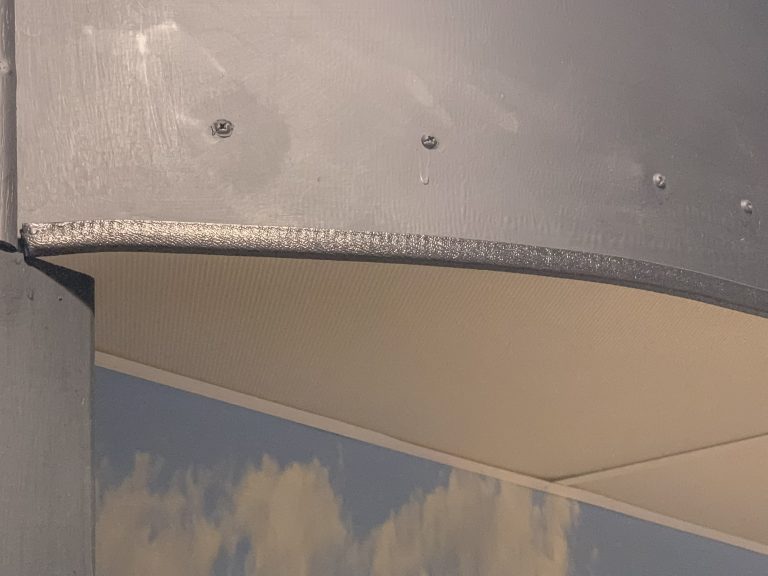
Valance Skin
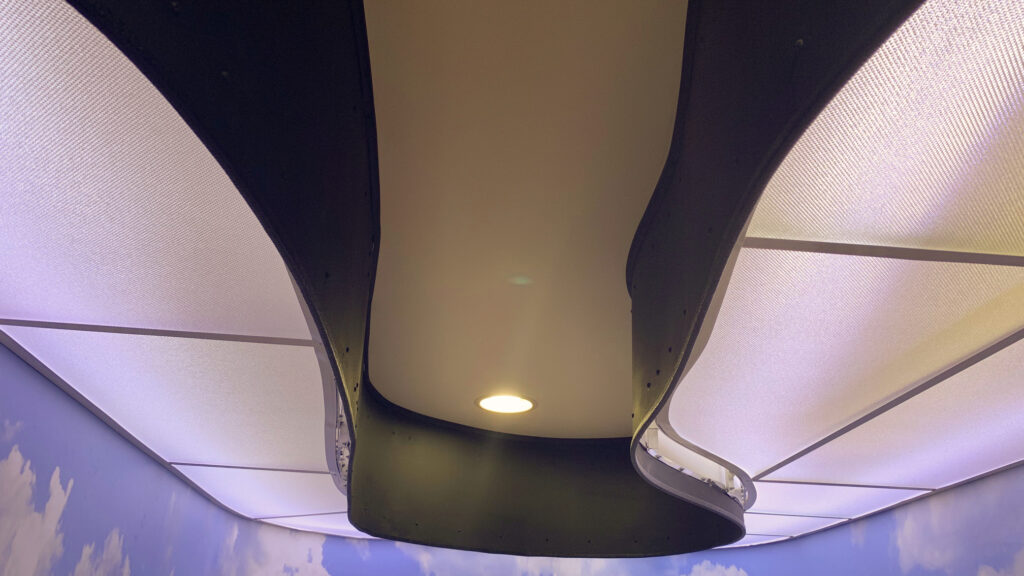
Vertical Viewblock
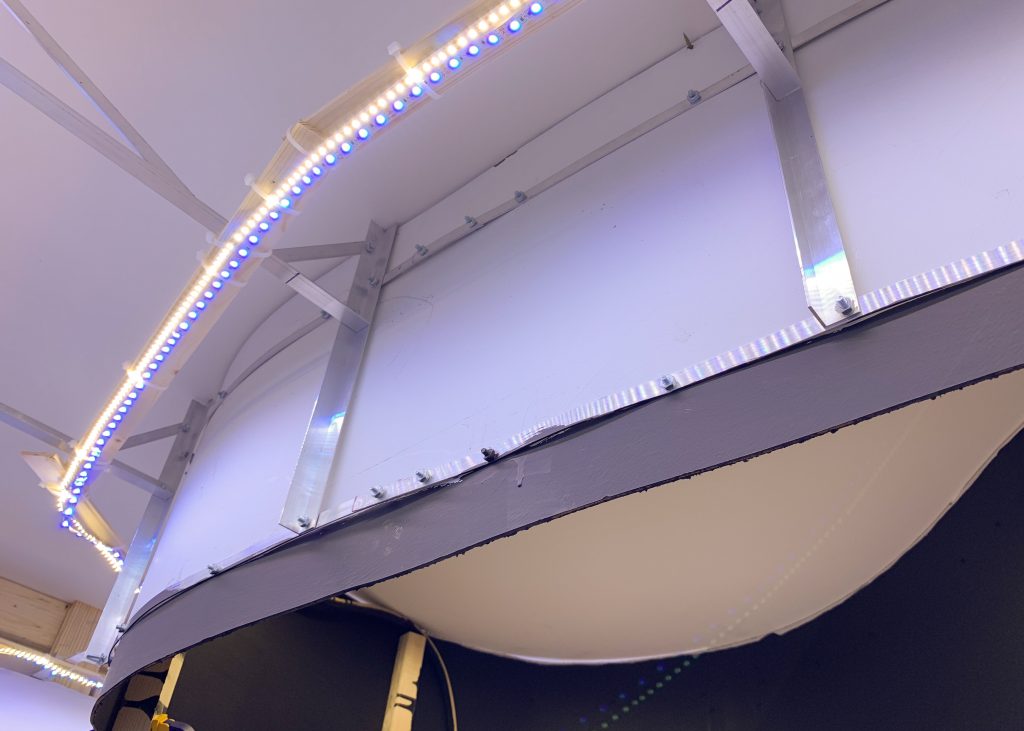
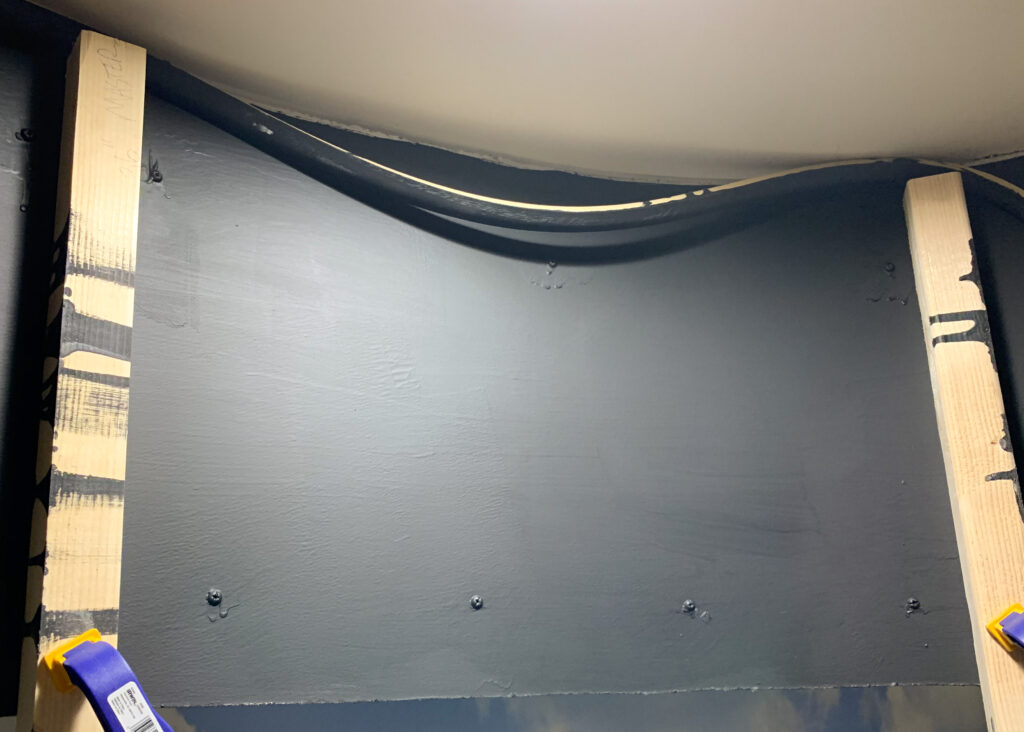
The main component is the 16″ high vertical viewblock that wraps around the outside of the valance frame. I first cut the 1/8″ thick masonite to the proper 16″ width and then painted it flat black on one side and white on the other. I then used screws/nuts to fasten it to the upper and lower outside runners, with the black side on the outside.
While you can see the heads of the screws in the photo above, after painting the heads flat black, they are sufficiently hidden for me.
At the seams, I first glued a masonite piece on the back of the 2 mating pieces to keep them better aligned. I then used drywall mud to hide the seam in the front.
I went back and painted the backside of the masonite black from the edge of the bottom outside runner to the bottom of the masonite.
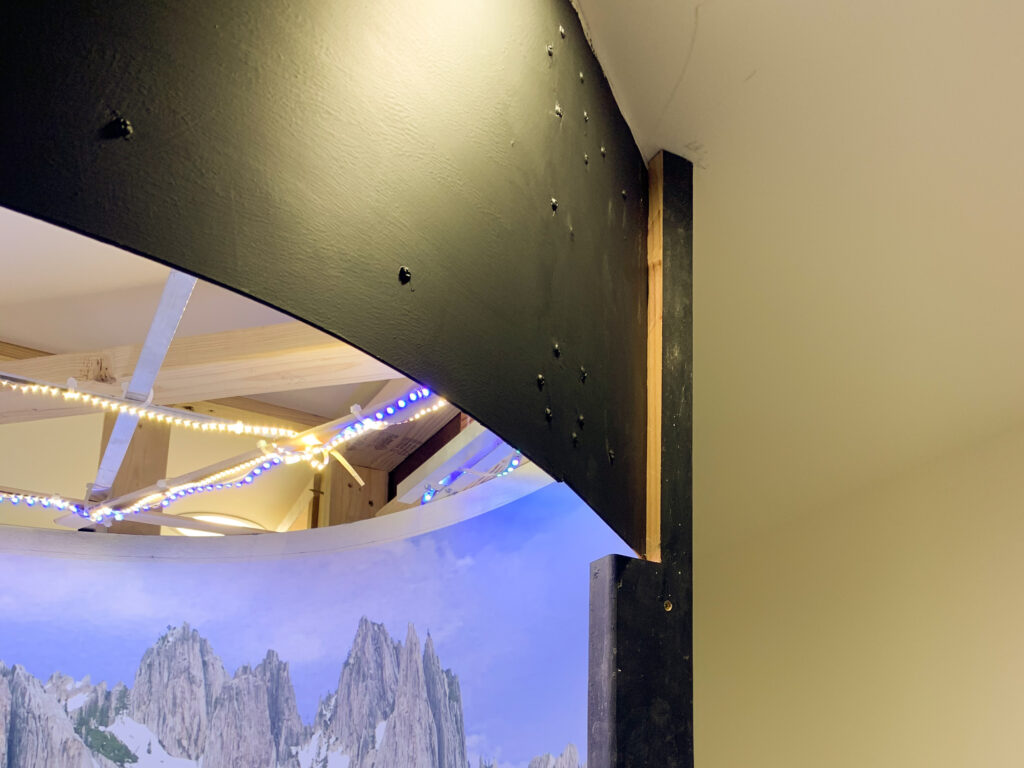
Corner Molding
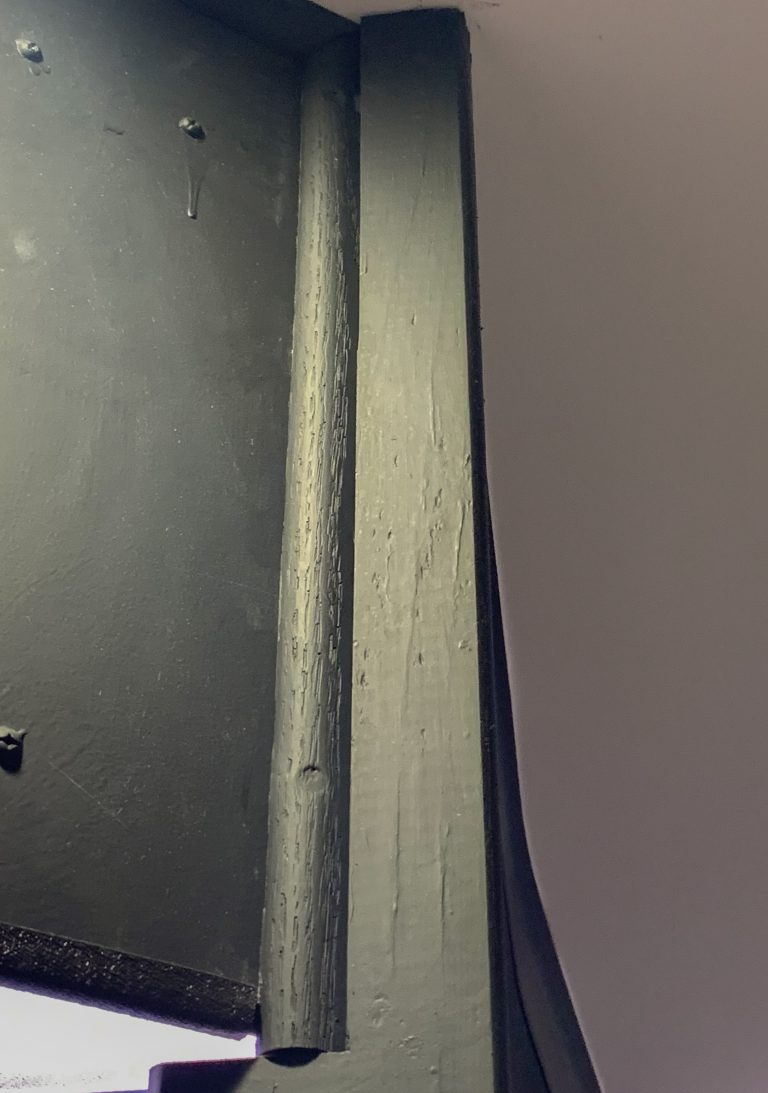
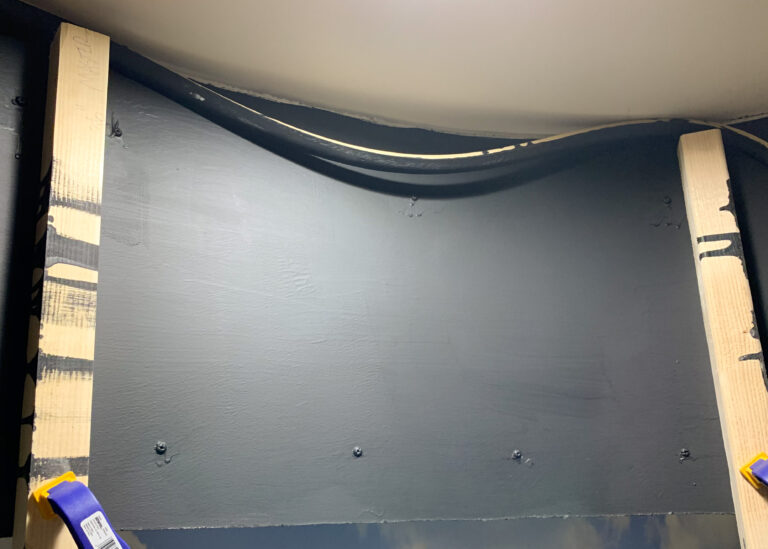
Where the viewblock meets the ceiling, I placed some corner molding that I’d painted flat black. The molding was held temporarily in place with some wood blocks while I did the final positioning and screwed the molding to the top of the masonite with torx head screws. The screw heads and any messed up areas were retouched.

Edge Molding
On the bottom of the masonite, I slid on some edge molding that stayed in place because of the embedded steel clips within the length of the molding.
